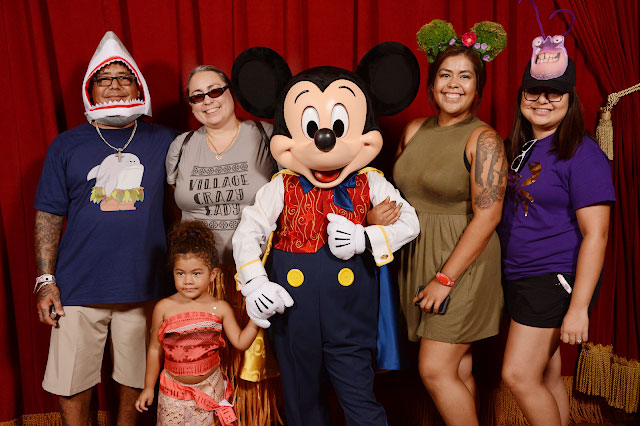
3 DIY Moana costumes for Mickey’s Not So Scary Halloween Party!
Keep reading below for a step-by-step guide on how I made each Moana costume, complete with pictures r/restofthef-ingowl would be proud of.
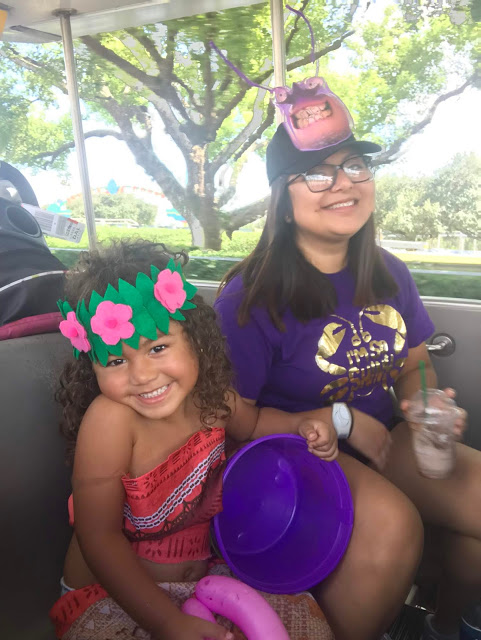
Yeah, yeah, yeah. Maybe Moana costumes are an overrated choice by now, but look at my goddaughter Sophia in the eyes and TELL HER she doesn’t make a perfect Moana!
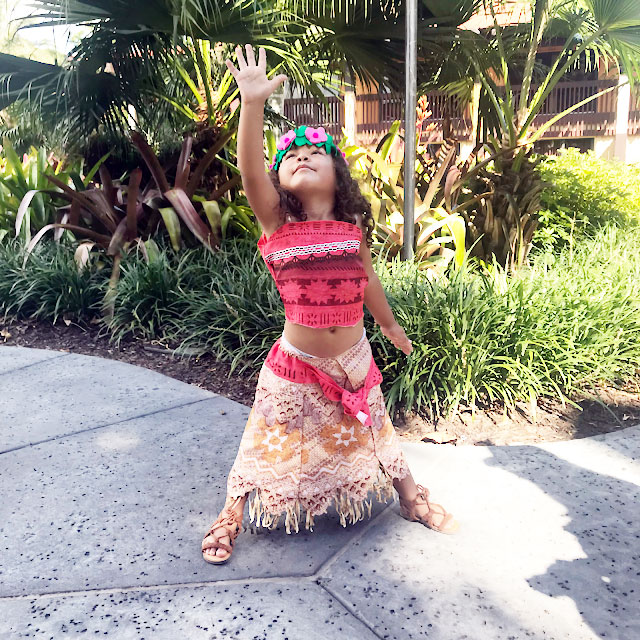
The hair, the brownness, the hair, the fearlessness, the HAIR.. She’s perfect!

And because her mommy gave her life, I convinced her to go dressed as Te Fiti, goddess with the power to create life itself<3
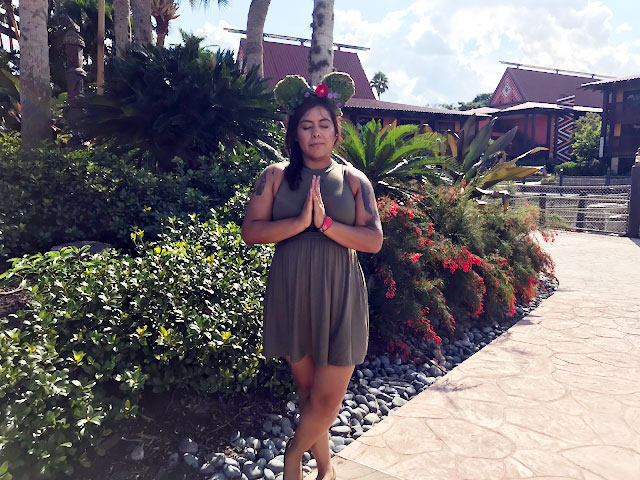
When we talked about what she should wear, I decided that any old flower crown just wouldn’t cut it for a Halloween party at the most magical place on earth. So I made her Te Fiti-themed ears just for the occasion!
So when I surprised Amber with the ears on FaceTime, Sophia’s response was (and I quote):
“Whaaaat aboooout myyyyyyyyyyyyyy crooowwwnnn????????”
And well that just broke my heart so I made a special Moana-style flower crown just for her!
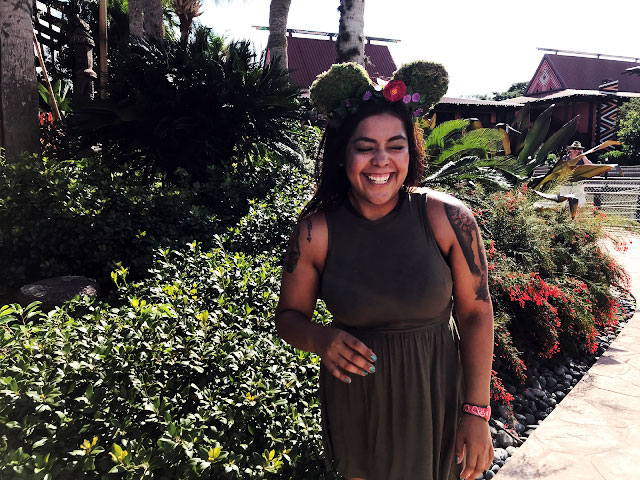
As for me, I really wanted to go as Tamatoa for my love of his song “Shiny” and also Jemaine Clement in general. I just didn’t want to make it too complicated, especially considering we’d be running around a theme park with a 3-year-old.
So I ordered this shirt from Etsy, glued his face onto a baseball cap (inspired by this pin), and crafted a glitzy “shell”*** that the crab himself would surely add to his dazzling dungeon.
Since this post is already gearing up to be monstrous enough for Lalotai, I’ll post a video of our night at MNSSHP separately. This was Sophia’s first time EVER at Disney World, so I wanted to make sure I captured the day as perfectly as I’d captured her mommy’s first visit!
I really struggled to find an easy guide to make each of these things online, so I wanted to share how I personally made them, because I doubt Moana is going to be unpopular anytime soon 🙂
Moana’s flower crown
I’ll start with the easiest one.
I eyeballed this picture when I perused Google for a kid version of Moana’s lovely flower crown. Honestly, Sophia wasn’t a huge fan of wearing this while we were at the park. Don’t get me wrong—it held up completely fine and she adored it, she just got annoyed with it being on her head, so this would probably work better for older kids.
Supplies:

- green ribbon
- green felt
- pink felt
- hot pink pom poms
- scissors
- your choice of adhesive (I used hot glue)
I wasn’t confident with my freehand leaf and flower-drawing skills, and I wanted them to be as uniform as possible, so I traced the shapes onto paper. Then I cut those shapes out and traced the outline onto the felt using a marker. Don’t worry about cutting the marker outline completely off– you can just glue that side facing down!
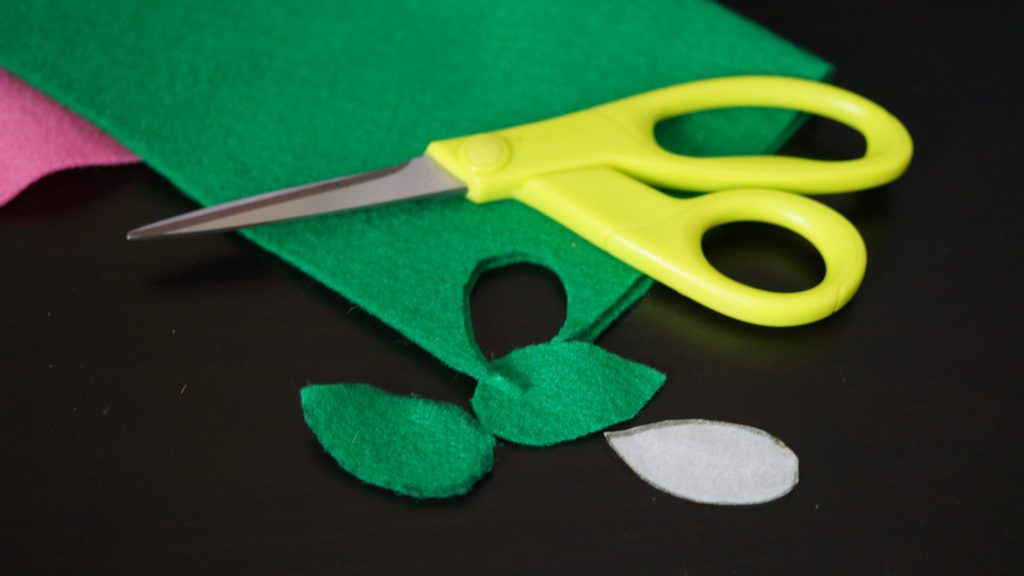
I’m sure there was a more efficient way to do this, but once I traced the shape onto the felt, I folded the felt sheet in half to cut two shapes out at once. Use whatever method you want to cut out the green leaves and the pink flowers.
I ended up using 30 leaves and eight flowers. Depending on the size of whoever’s head this is going on, you may need less or more.
Measure the circumference of said person’s noggin and add 10 inches to that length. This is so that there’s enough extra ribbon left to tie into a knot. For example, Sophia’s head measured 20.5 inches so I rounded up and cut 31 inches of ribbon.
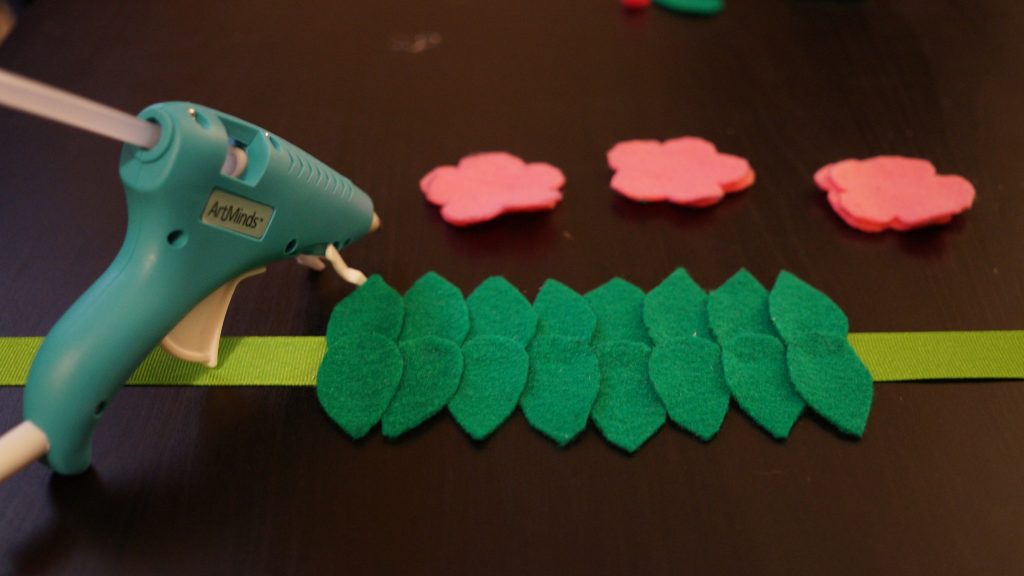
Now it’s time to glue the shapes onto the ribbon. Put a dot of your favorite glue on the bottom of a leaf shape, measure the ribbon’s halfway point, and press the leaf onto the dead center of the ribbon.
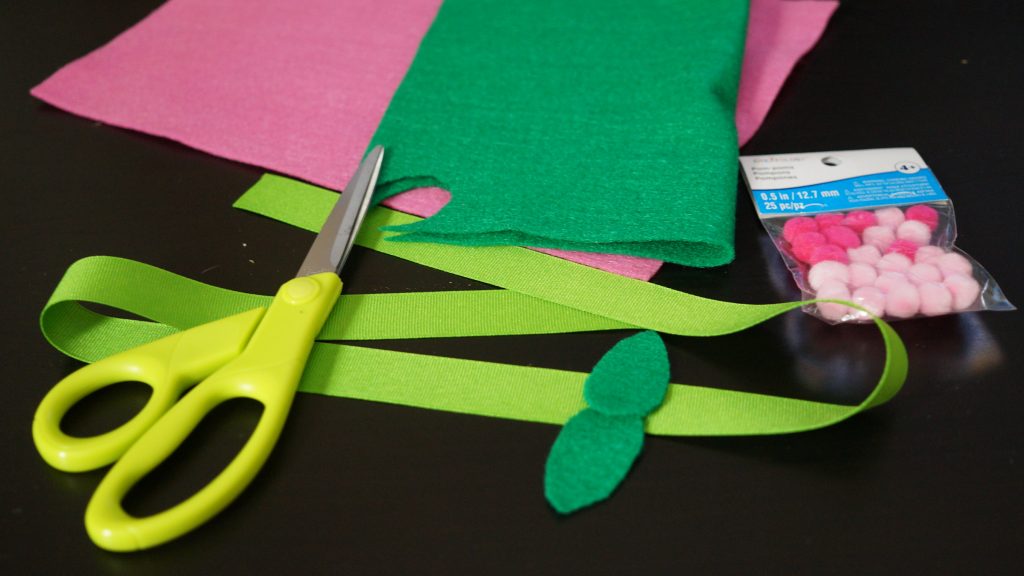
The order I glued the leaves was skinny side up, then the next one on top of it, slightly overlapping with the skinny side down. You can choose how far apart you want them, but this is how I did it. (Looking at pictures probably makes more sense than me describing it…)
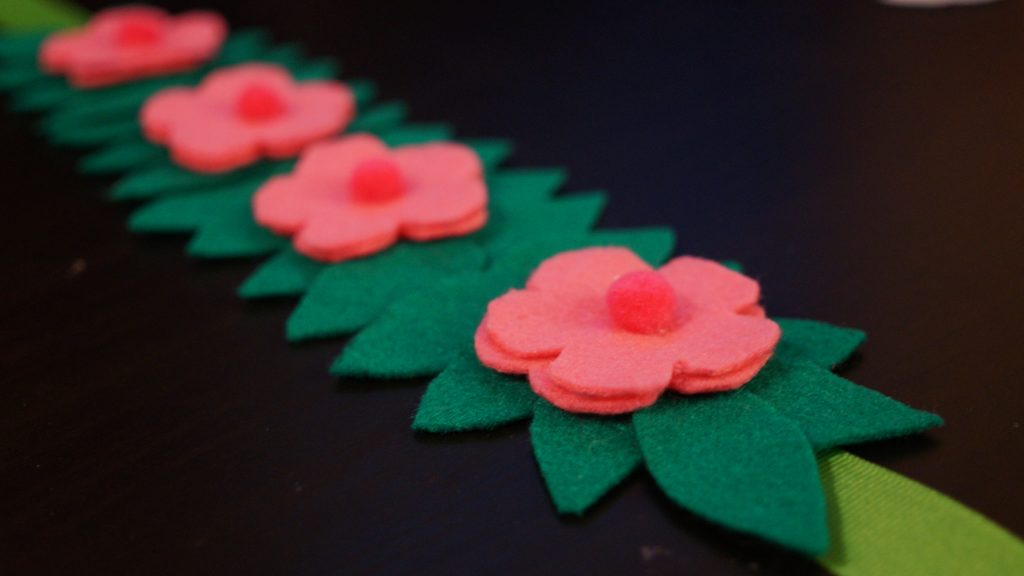
I layered two flower shapes on top of each other to create some dimension, leaving four flowers visible on the finished headband. Once those were glued together, I glued them as evenly spaced as I could on top of the finished leaves.

Lastly, glue a hot pink pom pom onto the center of each flower. I wish I would have gotten larger pom poms, but the pack these came in was only 99 cents at Michaels, and I didn’t want to buy more than I needed for larger pom poms… Besides, I think they look pretty cute!
Tamatoa’s shiny shell
I almost gave up on this project to order a gold sequin backpack online (which would have been perfect), but I just couldn’t find an affordable one. This video inspired me that the project was simple enough not to abandon.
Supplies:

- cardboard
- twine
- foil
- gold metallic finish spray paint
- decorative sea shells
- old jewelry, beads, etc.
- random shiny things
- glitter spray
- adhesive of your choice (use something stronger than hot glue!)
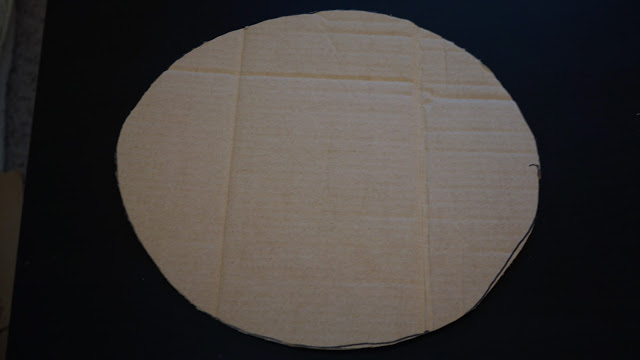
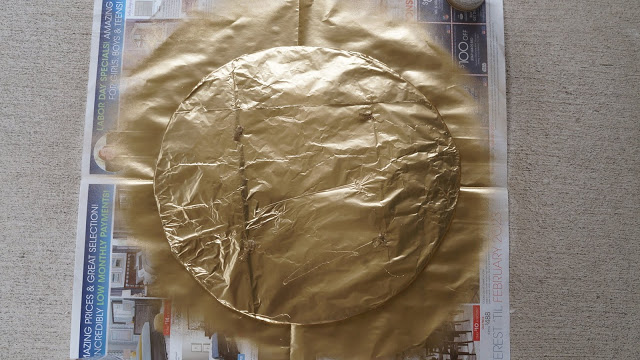
Cut the best circle you can out of cardboard. I made mine with a 15-inch diameter to fit my back.
(I screwed up and did this after I covered it with foil, oops!) Punch four holes into the circle like so. Now you’ve got to decide the left/right and top/bottom of the circle. Designate the holes as top-left/bottom-left and top-right/bottom-right. (This is probably so confusing but bear with me.)
Cut a piece of twine as long as you want the strap to be around your shoulder. In my case, it was 30 inches for a comfortable fit and enough room to take it off without breaking. Poke one end of the cut twine through the top-left hole and tie it into a knot so it doesn’t fall out. To secure it even further, glue the knot into the hole.
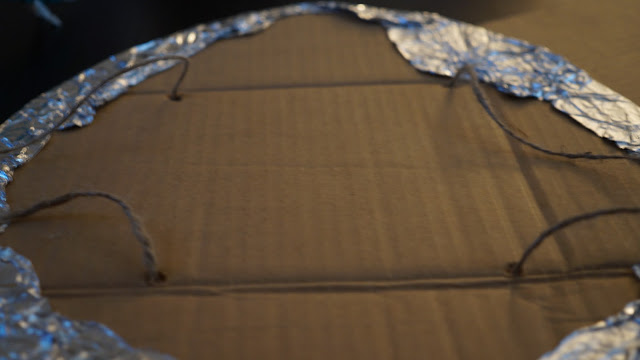
Repeat this process with the same string, only this time with the bottom-left hole.
Repeat with the right side.
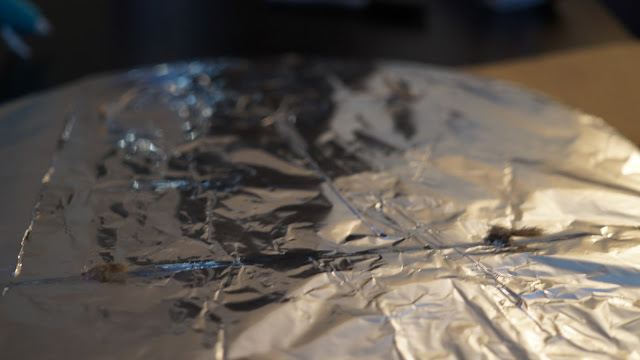
Cover the side without the straps with foil and glue in place. Once you’re satisfied with the look, spray paint gold.
Once dry, begin gluing decorative sea shells, any old jewelry, beads and random shiny things you don’t mind getting rid of onto the foil. Although if it’s something extra shiny that would definitely turn Tamatoa’s head, consider gluing it on at the very end!

Cover the decorated shell with another coat of spray paint. Once that’s dry, spray with glitter for extra sparkle.

You can choose not to do this, but I added Maui’s fish hook made out of cardboard, like they did in the video. It’s a tiny little detail that Disney fans checking out your costume will appreciate!
(***I ended up not even wearing this 🙁 We were so all over the place that day that I just did not want to bother with putting it on. It was ridiculously hot out, and the glue I used was definitely not the best. I would seriously consider stronger glue for this project! And I also am angry that I didn’t even get a photo of the finished product.)
Te Fiti-inspired ears
I was so inspired by these ears, but I had no idea where to even begin. I wanted to go for a topiary look, but I was unsure of the materials needed to achieve it. I also put this off for a really long time because frankly, the thought of it scared me. But it ended up taking WAY less time than I thought it would. It took me the entire length of “We’re Back: A Dinosaur’s Story”, and part of another movie, so only about 2 hours!
Supplies:

- sturdy headband
- metal crafting wire
- green felt
- sheet moss
- ivy garland
- assorted paper or silk flowers
- hot glue gun & glue sticks
- spray adhesive
- green spray paint (optional)
First, figure out how large you want the ears to be. I used one of my other pairs as a reference. Although keep in mind that they’ll probably be very thick and appear much larger when finished.
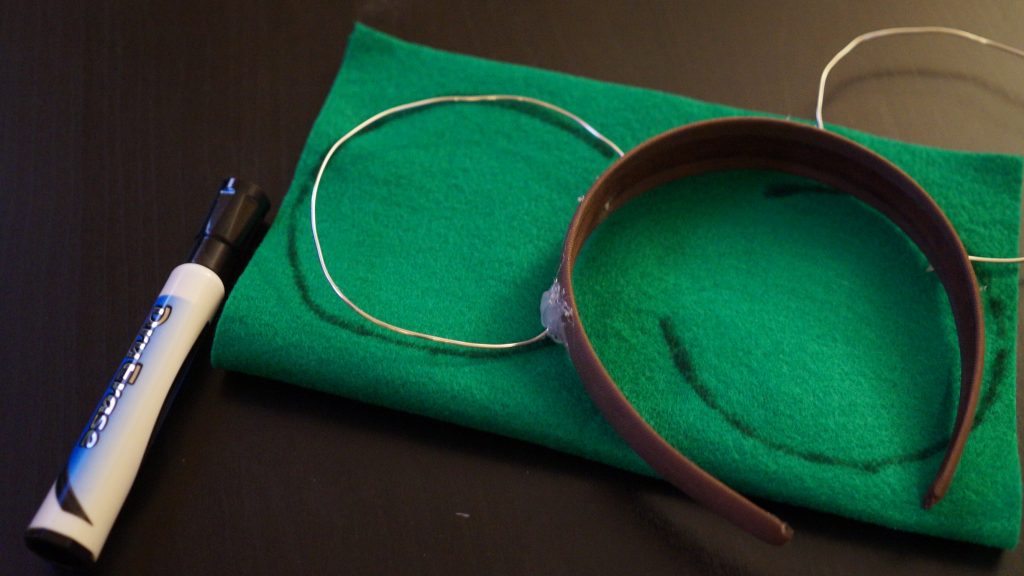
Cut as much wire as you need plus about two inches extra. Mold the wire into the shape you want, then bend an inch of both ends perpendicular to the shape. Er, if that doesn’t make sense, just look at the picture below.
Next, you’ll trace the wire’s outline onto the felt. I used green so it would look okay if the moss was a little sparse in places. When you cut out the shape, make sure to add about a half-inch all around. This will make it much easier to glue to the wire later. (I did this after I glued it onto the headband, but do it before, it’s probably much easier…)

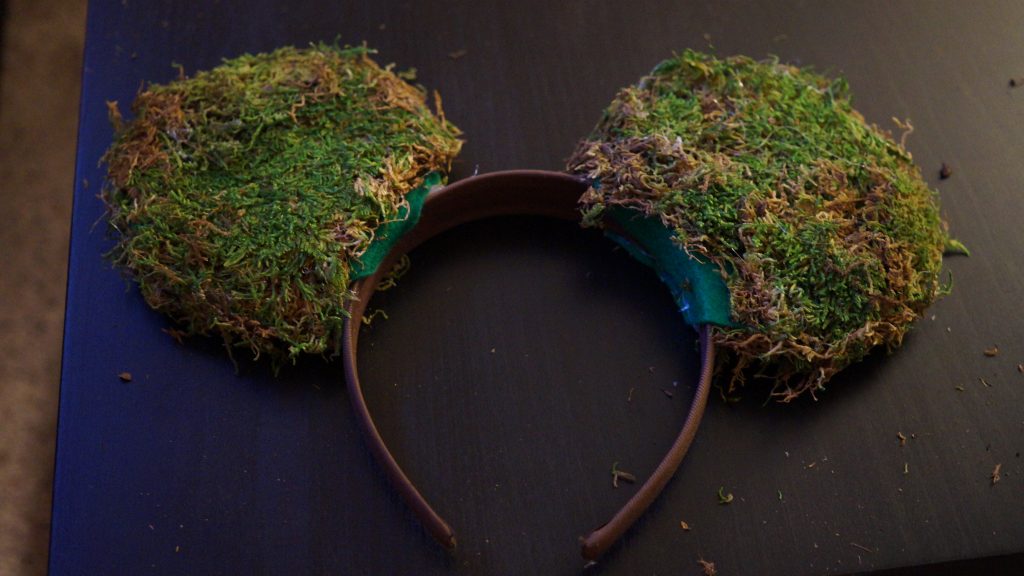
Hot glue the wire to the top of the headband. If you find that the wire extends past the headband, cut accordingly then glue. Don’t rush after this—make sure the glue is dry and the wire is very secured onto the headband.
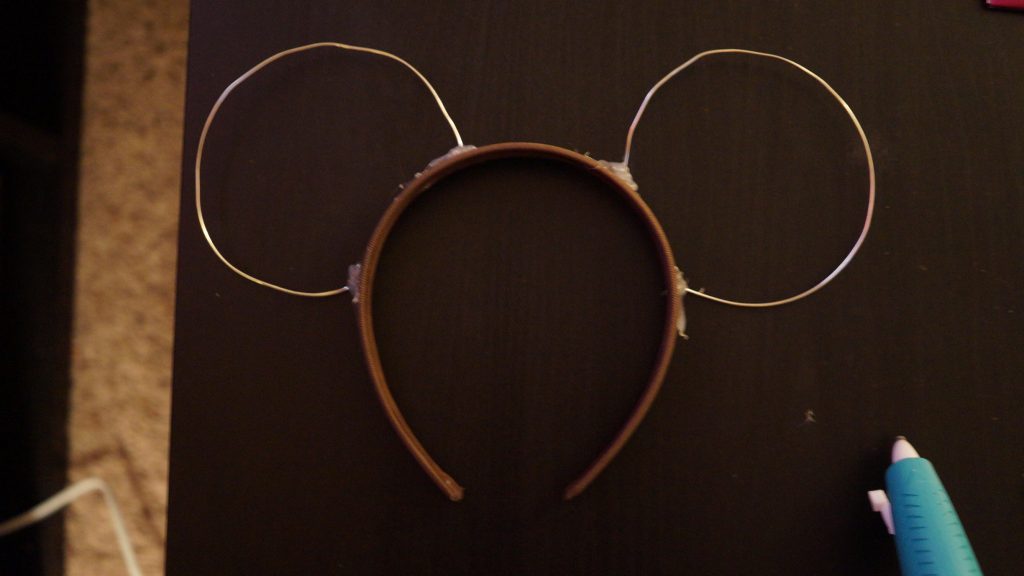

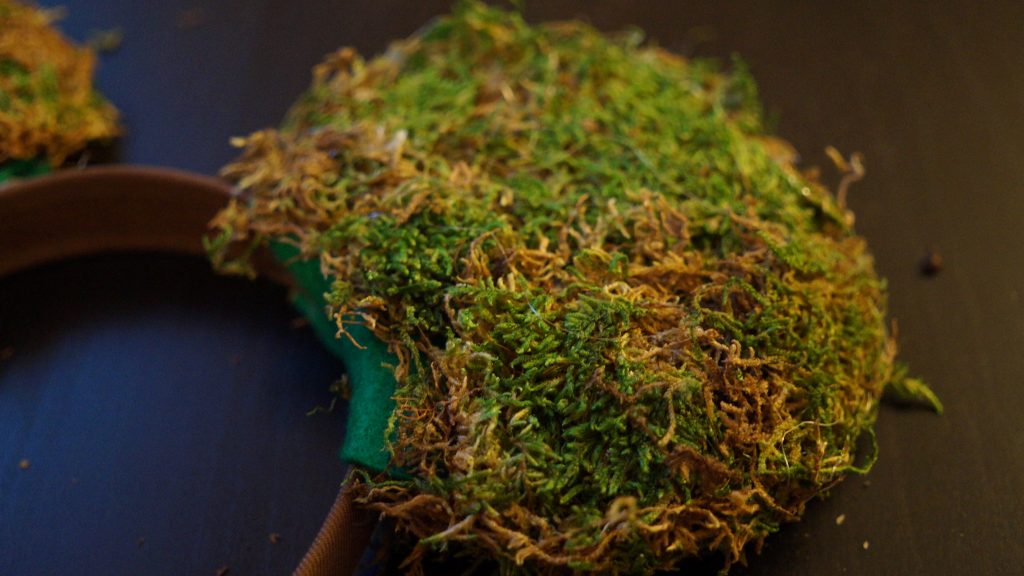
Take two of the felt circles and use them to wrap around the wire. The wire is the meat, and the felt is the bread. Glue the felt circles together by creating a seam of glue around the outside of the wire. Repeat on the other ear. (I didn’t measure the felt to be large enough, which is why the wire’s poking out at the bottom.)

Try to form the shape you need from the sheet moss. Now smother hot glue onto one side of the felt and cover it with sheet moss. Repeat with the other side of the same ear, and repeat for both sides of the other ear. Tear pieces off whatever moss is left to fill in the patches. Spray with adhesive to prevent the moss from crumbling.
At this point, I would recommend that if you want it to look more uniform in color, spray paint it before you start to decorate it. It’s much harder to do after the fact, trust me.
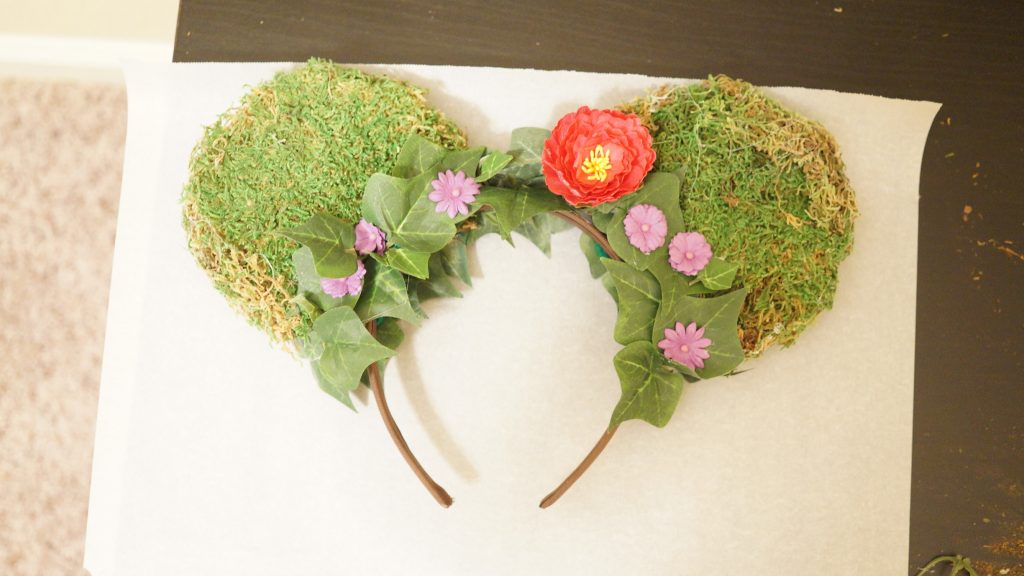
Once the paint is dry, pluck the leaves from the ivy garland and glue them all around the headband to look like an ivy crown.
Finally, take some colorful flowers and glue them to your heart’s desire.

After these were done, I realized that I really wouldn’t mind making them again! Leave me a comment or contact me if you’d like to order a custom pair!
Now I want to see your MNSSHP costumes, or any Halloween costumes at all! I love Halloween so much.
Boo to you and have a happy Halloween!
